
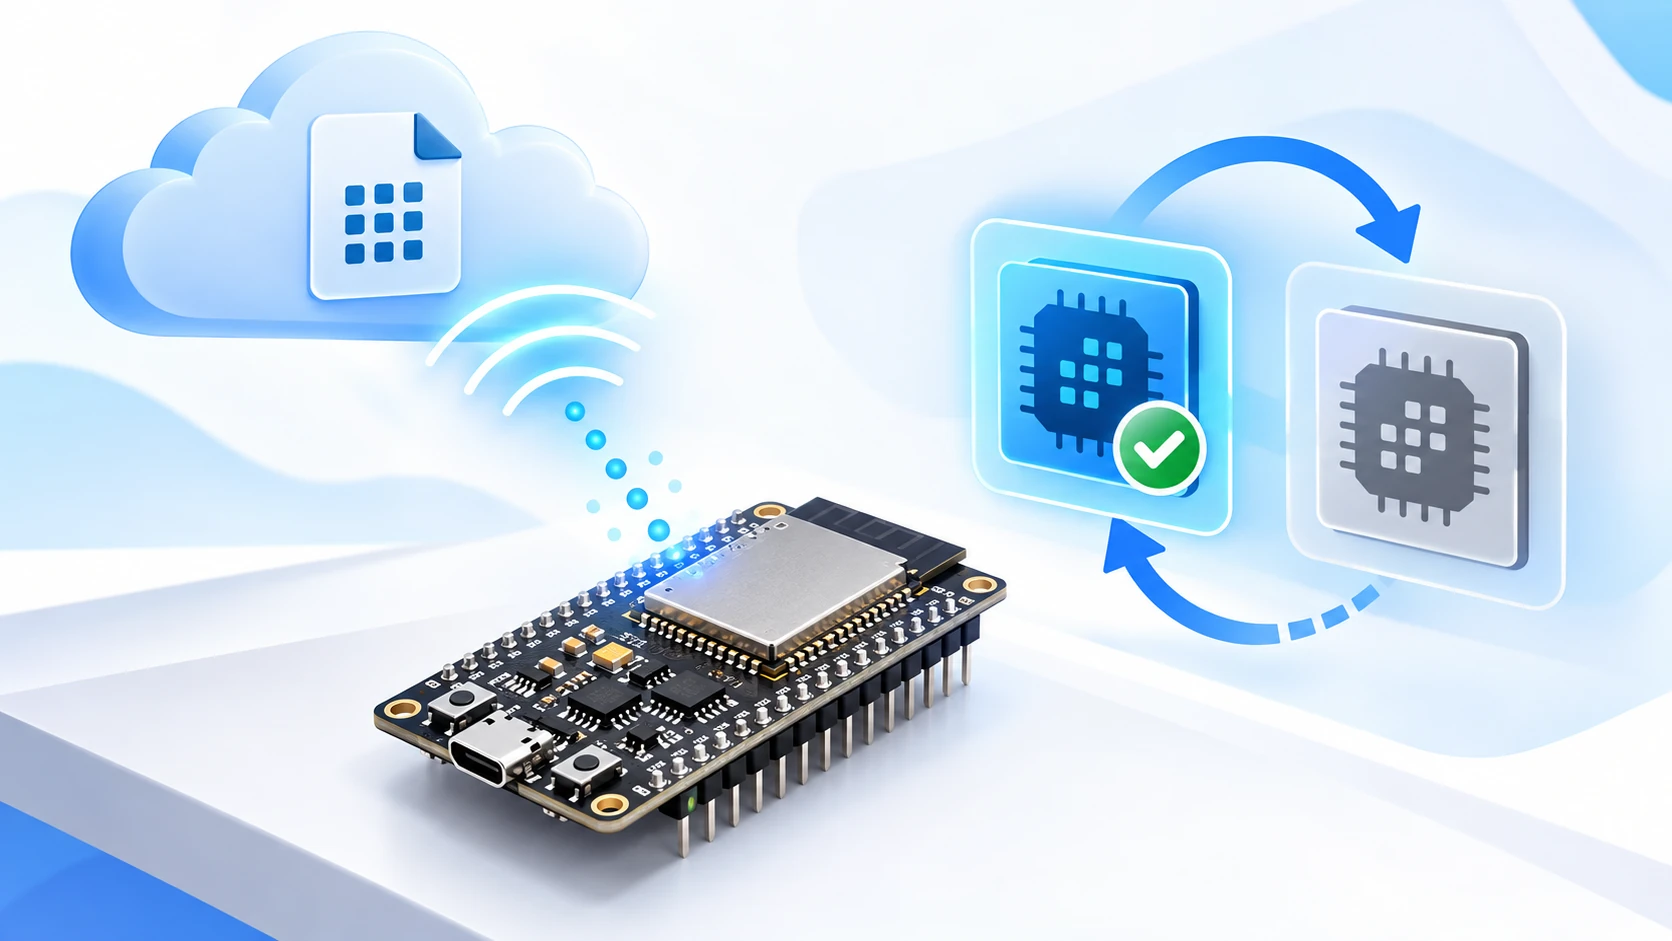
OTA (Over-The-Air) updates on the ESP32
Two partitions, otadata and the pending-verification state: how to update firmware over the network without turning a bug into a service visit.
Hardware requirements:
- Placa ESP32 ou ESP32-S3 com pelo menos 4 MB de flash
- Rede Wi-Fi de 2,4 GHz
- Um servidor HTTP para hospedar o binário, mesmo que local
Download this tutorial's materials:
- Projeto completo (ZIP)160 KBFirmware Arduino com atualização por pull, verificação do byte mágico, comparação de tamanho e autodiagnóstico com rollback. Tabela de partições, README e manual em PDF.
- Manual em PDF (8 páginas)193 KBPor que duas partições, push contra pull, o firmware que sobe e não funciona, o estado pendente de verificação e o teste de falha proposital. Checklist de treze itens.
Want to receive new manuals and industrial schematics? Join our channel on Telegram / WhatsApp
The problem OTA solves, and the one it creates
Flashing firmware by cable is easy when the board is on the bench. When it is inside a locked electrical panel, on the third floor of a building, behind a machine in operation, every update becomes a service visit.
OTA — over-the-air updating — solves that. But it creates a new risk, and this is what separates a tutorial implementation from one you accept in the field: if the update goes wrong, the device can become inaccessible in exactly the way that motivated OTA.
This article covers both sides. First how to update. Then, most importantly, how to make sure a bad update does not cost the service visit you wanted to avoid.
Why there must be two partitions
The first thing to understand is that the ESP32 does not overwrite the firmware currently running. That would be impossible: the code running is the same code that would be erased.
The solution is two application slots. The firmware runs from one, writes the new image to the other and only then marks which one should be used on the next boot. A small third partition called otadata stores that mark.
This has an excellent consequence: a power failure during the update is safe. The inactive slot is being written, the active slot remains intact and otadata still points to it. The board restarts on the old firmware as if nothing had happened.
There is also an inconvenient consequence: you lose half of the flash. On a 4 MB board, each slot is about 1.9 MB. That is the price and there is no way around it.
The partition table
This is the table used by the repeater firmware on a 16 MB board:
| 1 | # Name, Type, SubType, Offset, Size, Flags |
| 2 | nvs, data, nvs, 0x9000, 0x5000, |
| 3 | otadata, data, ota, 0xe000, 0x2000, |
| 4 | app0, app, ota_0, 0x10000, 0x300000, |
| 5 | app1, app, ota_1, , 0x300000, |
| 6 | spiffs, data, spiffs, , 0x900000, |
Read the fields that matter. otadata uses 8 KB and stores which slot is valid. app0 and app1 are the two 3 MB application slots. spiffs gets the remaining 9 MB for configuration and files.
Notice that app1 and spiffs do not declare an offset: the generator calculates it from the previous size. Only the first partition needs a fixed address.
If your board has 4 MB, use the ready-made min_spiffs table, which reserves about 1.9 MB per slot. It is the closest Arduino provides to a reasonable OTA layout.
Point to the table in platformio.ini:
| 1 | board_build.partitions = partitions.csv |
Without this, the project uses the default single-partition table and the update fails on the first attempt with a partition-not-found error.
Push or pull: who starts the conversation
There are two models, and the choice changes the architecture.
With push, the device exposes an HTTP endpoint and you send the binary to it. This is the ArduinoOTA and web-OTA library model. It is simple to test and works well when you have local network access to the equipment.
With pull, the device periodically checks a server, compares the version and downloads a new one if available. It needs more infrastructure, but it is the only model that scales: updating fifty gateways by push means fifty manual operations; with pull, it means publishing one file.
For a product, pull. For a bench and one-off maintenance, push. This tutorial implements pull, the harder and more useful case.
The update itself is the easy part
The flashing code is surprisingly simple. The Update library, already included in the core, handles the essentials:
| 1 | bool aplicarAtualizacao(Stream &origem, size_t tamanho) { |
| 2 | if (!Update.begin(tamanho)) { |
| 3 | Serial.printf("Espaco insuficiente: %s\\n", Update.errorString()); |
| 4 | return false; |
| 5 | } |
| 6 | size_t escritos = Update.writeStream(origem); |
| 7 | if (escritos != tamanho) { |
| 8 | Serial.printf("Escreveu %u de %u bytes\\n", (unsigned)escritos, (unsigned)tamanho); |
| 9 | Update.abort(); |
| 10 | return false; |
| 11 | } |
| 12 | if (!Update.end(true)) { |
| 13 | Serial.printf("Falha ao finalizar: %s\\n", Update.errorString()); |
| 14 | return false; |
| 15 | } |
| 16 | return true; |
| 17 | } |
Update.begin chooses the inactive slot and checks whether the binary fits. writeStream writes directly from the HTTP stream, without an intermediate buffer the size of the firmware — which would be impossible because the binary is larger than RAM. end(true) validates the image and updates otadata.
If any step fails, nothing changes: otadata continues pointing to the slot that is running.
Firmware that boots but does not work
Here is the real risk and the reason this article exists.
The case everyone imagines is an update failing halfway through. That is the easy case — it is safe by construction.
The dangerous case is different: the update finishes successfully, the binary is valid, the board reboots into the new firmware and then discovers a bug that prevents Wi-Fi from connecting. Or it hangs in setup. Or it consumes memory until it restarts in a loop.
From OTA's point of view, everything worked. In practice, the device is inaccessible and you have lost exactly the ability to send the fix. It is the service visit OTA was meant to avoid, now made worse because you caused it.
No binary integrity check detects this. The file is intact; its behavior is wrong.
Rollback: the pending-verification state
The solution is not to trust new firmware immediately.
With rollback enabled, a freshly flashed image enters a special pending verification state. The bootloader runs it with one condition: if the board reboots before the firmware declares that it works, the bootloader automatically returns to the previous image.
The new firmware must prove that it works:
| 1 | #include "esp_ota_ops.h" |
| 2 | void confirmarSeSaudavel() { |
| 3 | const esp_partition_t *rodando = esp_ota_get_running_partition(); |
| 4 | esp_ota_img_states_t estado; |
| 5 | if (esp_ota_get_state_partition(rodando, &estado) != ESP_OK) { |
| 6 | return; |
| 7 | } |
| 8 | if (estado != ESP_OTA_IMG_PENDING_VERIFY) { |
| 9 | return; |
| 10 | } |
| 11 | if (autodiagnosticoOk()) { |
| 12 | esp_ota_mark_app_valid_cancel_rollback(); |
| 13 | Serial.println("[ota] imagem confirmada"); |
| 14 | } else { |
| 15 | Serial.println("[ota] autodiagnostico falhou, voltando ao anterior"); |
| 16 | esp_ota_mark_app_invalid_rollback_and_reboot(); |
| 17 | } |
| 18 | } |
What counts as a self-test is a design decision, and that is where the value lies. Connecting to Wi-Fi within sixty seconds is usually the minimum. If the device depends on MQTT or a Modbus bus, require those as well — there is no value in confirming an image that connects to the network but cannot talk to the equipment.
Call the confirmation after the diagnostic has had time to run, not at the beginning of setup. Confirming too early defeats the entire mechanism.
The detail that invalidates everything
The pending-verification state exists only if the bootloader was compiled with rollback enabled. It is a bootloader option, not a code option:
| 1 | CONFIG_BOOTLOADER_APP_ROLLBACK_ENABLE=y |
In ESP-IDF, add this to sdkconfig and rebuild. In Arduino, the bootloader is precompiled and the option is not enabled by default — calling the functions above does not produce an error, but it also protects nothing, because no image enters the pending state.
It is the same boundary as NAPT: Arduino is fine for the simple path, while a product that needs guarantees moves to ESP-IDF. Know this before promising rollback to a customer.
Integrity verification
Regardless of rollback, validate what arrived. The minimum is comparing the announced size with the number written, which the code above already does.
A better step is checking the first byte: every ESP32 application binary starts with 0xE9. If the server returned an HTML error page instead of the file, this catches it before anything is written.
The definitive step is a SHA-256 published with the binary and checked after writing. It costs a few seconds and removes the entire class of silent corruption on a bad network.
Tutorial: from zero to the first over-the-air update
Step 1: prepare the partition table
Create partitions.csv at the project root with the table shown above, adjusting the sizes to your flash. Point to it in platformio.ini:
| 1 | [env:esp32-ota] |
| 2 | platform = espressif32 |
| 3 | board = esp32dev |
| 4 | framework = arduino |
| 5 | monitor_speed = 115200 |
| 6 | board_build.partitions = partitions.csv |
Build and check the size report. If the image is too large, the slots are too small for your firmware.
Step 2: flash the first version by cable
The first flash is always over USB — there is no OTA without firmware already running. Flash a version with a clearly visible version number in the boot log, because that is how you will confirm the switch.
| 1 | pio run -t upload |
| 2 | pio device monitor -b 115200 |
Step 3: publish the new binary
Change the version number, build without uploading and locate the file:
| 1 | pio run |
The binary is at .pio/build/esp32-ota/firmware.bin. Copy it to an HTTP server reachable from the board's network. For testing, Python's built-in server is enough:
| 1 | python -m http.server 8000 |
Step 4: trigger the update
With the kit firmware, provide the binary URL and watch the serial monitor. You should see the announced size, write progress and confirmation before the reboot.
If the download fails, test the URL in a browser on a computer on the same network: a path error is much more common than a code error.
Step 5: confirm the switch
After reboot, the boot log should show the new version number. If it shows the old one, the write did not finish or otadata was not updated.
Step 6: deliberately test failure
This is the step almost nobody performs, and it is what gives you confidence in the mechanism.
Build a deliberately broken version — with the wrong Wi-Fi password, for example — and update to it. With rollback active, the board should try, fail its self-test and return by itself to the previous version.
If it remains stuck on the broken version, rollback is not working, and it is much better to discover that on the bench.
Common errors and solutions
Partition not found. The project is using the default single-partition table. Point to partitions.csv in platformio.ini.
Sketch too big after enabling OTA. Expected: you have half the flash. On a 4 MB board, use min_spiffs; if it still does not fit, consider a larger board.
The update completes but the board returns to the old version. otadata was not updated — usually end(true) failed. Read errorString.
Download interrupted on a poor network. Add retries and compare the announced header size with the number written. Without that comparison, a truncated download becomes an invalid image written as if successful.
An HTML page was flashed as firmware. The server returned an error and the code wrote the response. Checking the first byte 0xE9 catches this first.
I called the rollback functions and nothing happens. The bootloader was not compiled with the option enabled. With the standard Arduino bootloader, rollback is unavailable.
The board entered a reboot loop after the update. Without rollback, recovery is by cable. With rollback, this is exactly what it exists to prevent — and why you test deliberate failure before going to the field.