
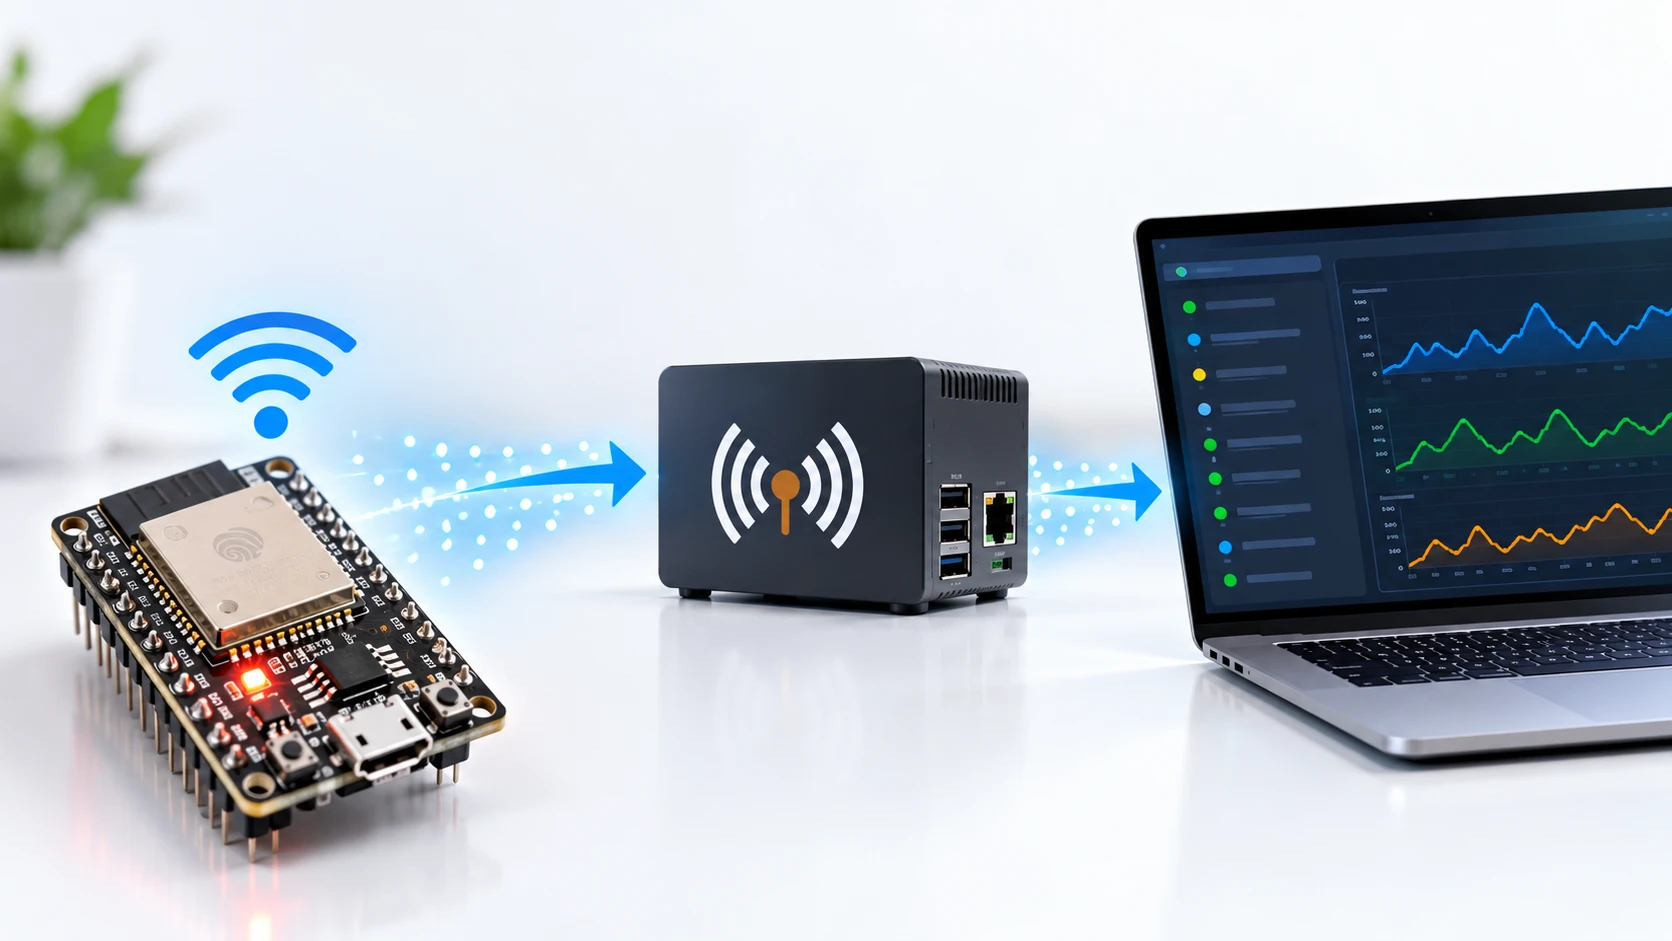
ESP32 publishing data to Mosquitto
Step by step to connect an ESP32 to an Eclipse Mosquitto MQTT broker, handling authentication and JSON telemetry format.
Goal and architecture
This tutorial builds a small, authenticated path for publishing ESP32 telemetry to an Eclipse Mosquitto broker hosted on Ubuntu. The flow is:
| 1 | ESP32 -> Wi-Fi -> Mosquitto -> mosquitto_sub / supervisory application |
The example uses MQTT 3.1.1, a device-specific topic, and a small JSON payload. The user names, password, IP address, and SSID below are placeholders: replace them locally and never commit credentials to firmware or the repository.
Install Mosquitto on Ubuntu
On an Ubuntu host under your control, install the broker and test clients:
| 1 | sudo apt update |
| 2 | sudo apt install mosquitto mosquitto-clients |
| 3 | sudo systemctl enable --now mosquitto |
| 4 | sudo systemctl status mosquitto |
For a staging installation, confirm that the MQTT port is listening:
| 1 | sudo ss -ltnp | grep 1883 |
Do not expose an anonymous broker directly to the internet. Even on an industrial network, treat the broker as an authenticated service and restrict the firewall to the required network.
Create a user and require authentication
Create the password file with the official mosquitto_passwd command. The password is entered interactively:
| 1 | sudo mosquitto_passwd -c /etc/mosquitto/passwd esp32-staging |
| 2 | sudo chown mosquitto:mosquitto /etc/mosquitto/passwd |
| 3 | sudo chmod 640 /etc/mosquitto/passwd |
Create a separate configuration file such as /etc/mosquitto/conf.d/iiot.conf:
| 1 | listener 1883 |
| 2 | allow_anonymous false |
| 3 | password_file /etc/mosquitto/passwd |
Restart the service and inspect its logs:
| 1 | sudo systemctl restart mosquitto |
| 2 | sudo journalctl -u mosquitto -n 50 --no-pager |
For production or untrusted networks, configure TLS and use port 8883 with valid certificates. Port 1883 in this tutorial is for a protected staging network.
Test the broker before the ESP32
Open a subscriber terminal:
| 1 | mosquitto_sub -h 192.168.1.10 -p 1883 \ |
| 2 | -u esp32-staging -P 'LOCAL_PASSWORD' \ |
| 3 | -t 'iiot/esp32/esp32-01/telemetry' -v |
In another terminal, publish a message:
| 1 | mosquitto_pub -h 192.168.1.10 -p 1883 \ |
| 2 | -u esp32-staging -P 'LOCAL_PASSWORD' \ |
| 3 | -t 'iiot/esp32/esp32-01/telemetry' \ |
| 4 | -m '{"device":"esp32-01","temperature":24.7,"rssi":-61}' |
If the message appears in the first terminal, the address, port, authentication, and topic agree. The 192.168.1.10 value is only a local-network example; use the actual broker address.
Configure the PlatformIO project
In platformio.ini, declare PubSubClient:
| 1 | [env:esp32dev] |
| 2 | platform = espressif32 |
| 3 | board = esp32dev |
| 4 | framework = arduino |
| 5 | monitor_speed = 115200 |
| 6 | lib_deps = |
| 7 | knolleary/PubSubClient |
The following example uses WiFiClient and PubSubClient. It reconnects without trapping the loop in an infinite while loop and publishes a compact JSON payload:
| 1 | #include <Arduino.h> |
| 2 | #include <WiFi.h> |
| 3 | #include <PubSubClient.h> |
| 4 | |
| 5 | const char* WIFI_SSID = "LOCAL_SSID"; |
| 6 | const char* WIFI_PASSWORD = "WIFI_PASSWORD"; |
| 7 | const char* MQTT_HOST = "192.168.1.10"; |
| 8 | const uint16_t MQTT_PORT = 1883; |
| 9 | const char* MQTT_USER = "esp32-staging"; |
| 10 | const char* MQTT_PASSWORD = "MQTT_PASSWORD"; |
| 11 | const char* MQTT_TOPIC = "iiot/esp32/esp32-01/telemetry"; |
| 12 | |
| 13 | WiFiClient network; |
| 14 | PubSubClient mqtt(network); |
| 15 | unsigned long lastMqttAttempt = 0; |
| 16 | unsigned long lastPublish = 0; |
| 17 | |
| 18 | void connectWifi() { |
| 19 | if (WiFi.status() == WL_CONNECTED) return; |
| 20 | WiFi.begin(WIFI_SSID, WIFI_PASSWORD); |
| 21 | } |
| 22 | |
| 23 | void connectMqtt() { |
| 24 | if (WiFi.status() != WL_CONNECTED || mqtt.connected()) return; |
| 25 | if (millis() - lastMqttAttempt < 5000) return; |
| 26 | |
| 27 | lastMqttAttempt = millis(); |
| 28 | const char* clientId = "esp32-01"; |
| 29 | if (mqtt.connect(clientId, MQTT_USER, MQTT_PASSWORD)) { |
| 30 | Serial.println("MQTT connected"); |
| 31 | } else { |
| 32 | Serial.printf("MQTT rejected, rc=%d\n", mqtt.state()); |
| 33 | } |
| 34 | } |
| 35 | |
| 36 | void publishTelemetry() { |
| 37 | if (!mqtt.connected()) return; |
| 38 | |
| 39 | char payload[128]; |
| 40 | const float temperature = 24.7f; // replace with the sensor reading |
| 41 | snprintf(payload, sizeof(payload), |
| 42 | "{\"device\":\"esp32-01\",\"temperature\":%.2f,\"rssi\":%d}", |
| 43 | temperature, WiFi.RSSI()); |
| 44 | |
| 45 | if (!mqtt.publish(MQTT_TOPIC, payload)) { |
| 46 | Serial.println("Telemetry publish failed"); |
| 47 | } |
| 48 | } |
| 49 | |
| 50 | void setup() { |
| 51 | Serial.begin(115200); |
| 52 | mqtt.setServer(MQTT_HOST, MQTT_PORT); |
| 53 | connectWifi(); |
| 54 | } |
| 55 | |
| 56 | void loop() { |
| 57 | connectWifi(); |
| 58 | connectMqtt(); |
| 59 | mqtt.loop(); |
| 60 | |
| 61 | if (millis() - lastPublish >= 10000) { |
| 62 | lastPublish = millis(); |
| 63 | publishTelemetry(); |
| 64 | } |
| 65 | } |
Call mqtt.loop() frequently. It processes the protocol and keeps the connection alive; a long delay or blocking operation can make the broker consider the client disconnected. The clientId must also be unique per board.
Quick diagnosis
- rc=4 usually means an incorrect user name or password.
- rc=5 means the broker rejected the authorization.
- rc=-2 points to a host-resolution or connection failure.
- rc=-4 is commonly a timeout: check the IP, port, route, and firewall.
- If the subscriber receives nothing, compare the topic character by character.
- PubSubClient has a small default buffer; for larger JSON payloads, explicitly size it with mqtt.setBufferSize(512) and validate the message size before publishing.
Security and operation
Do not put real passwords in source code, commits, or public examples. On an untrusted network, switch to TLS on port 8883, validate the broker certificate, and configure least-privilege ACLs. In production, monitor disk space, logs, restarts, and client counts; authentication does not replace network segmentation or configuration backups.
Official sources
- Eclipse Mosquitto — authentication methods
- Eclipse Mosquitto — mosquitto.conf reference
- Eclipse Mosquitto — mosquitto_passwd
- Eclipse Mosquitto — mosquitto_pub and mosquitto_sub
- PubSubClient — repository and limitations