
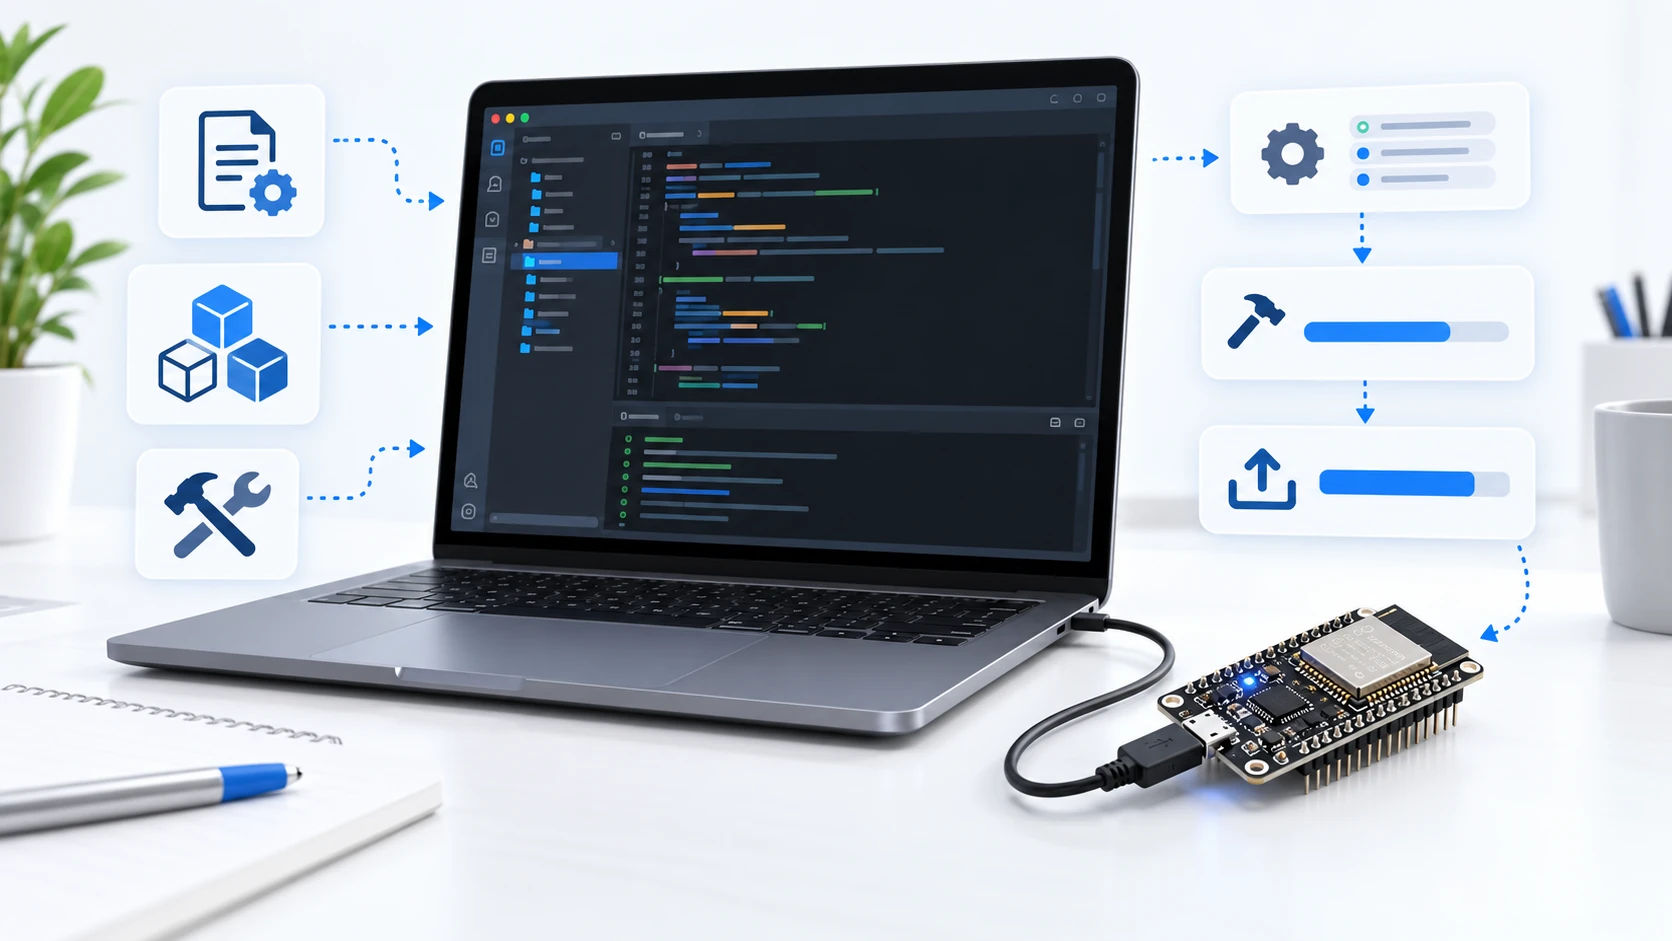
What is PlatformIO (PIO) and why did it become the ESP32 standard?
PlatformIO is neither an editor nor a compiler: it builds the entire environment from a text file. Learn the four layers and what platformio.ini does.
Download this tutorial's materials:
- Projeto completo (ZIP)83 KBProjeto base multiplaca: o mesmo main.cpp compila para ESP32, C3 e S3, com quatro ambientes comentados, herança de configuração e versões travadas. README e manual em PDF.
- Manual em PDF (6 páginas)112 KBAs quatro camadas no arquivo, herança com extends, versões travadas, tabela de comandos e checklist final.
Want to receive new manuals and industrial schematics? Join our channel on Telegram / WhatsApp
The question everyone asks the wrong way
The question usually sounds like this: "Is PlatformIO a better editor than the Arduino IDE?" It is not — and that comparison gets in the way of understanding it.
PlatformIO is not an editor, compiler or uploader. It is a manager: the program that discovers what your project needs, downloads every piece at the right version, calls the right compiler with the right parameters and then uploads the firmware to the board. You choose the editor; PlatformIO installs the compiler.
A useful comparison is to think of a conductor. The conductor does not play an instrument, but without one the instruments do not play together.
Why the command is "pio" instead of "platformio"
PIO is the command itself. Once installed, the program is called pio in the terminal — and platformio also works; they are the same executable under two names.
That is why both forms appear online. When a tutorial writes pio run, it is exactly the same as platformio run. And when the command is not on the system PATH, you can still call it through Python:
| 1 | pio run |
| 2 | platformio run |
| 3 | python -m platformio run |
All three lines do the same thing.
Two pieces with the same name
This is where much of the confusion starts. "PlatformIO" refers to two different products:
PlatformIO Core is the command-line program, pio. It does all the real work. It runs by itself, without any editor.
PlatformIO IDE is a VS Code extension. It does not replace Core: it installs it underneath and puts buttons on the screen that call the same commands. When you click the compile button, what happens behind the scenes is pio run.
That is why both command-line tutorials and graphical-interface tutorials are valid: they are driving the same engine.
The problem it solves
Imagine building a project in the Arduino IDE. To make it work, you had to add the board manager URL, install the ESP32 core, install three libraries through the manager and adjust two options in the Tools menu.
Now you send the project to someone else. That person receives only the code — the choices stayed on your machine, inside menus. They must repeat everything by hand, guessing which libraries and versions you used. If they install a different library version, the program may compile and behave differently.
PlatformIO solves this by moving all those choices into a text file inside the project: platformio.ini. Whoever receives the folder runs one command, and PlatformIO downloads whatever is missing, using the versions you pinned.
That is the difference between "it works on my machine" and "it works on any machine".
The four layers it manages
When you compile for the first time, PlatformIO downloads four kinds of components. It is worth learning their names because error messages use this vocabulary.
1. Platform
This is the package that teaches PlatformIO how to handle a chip family. For ESP32, the platform is called espressif32. It knows how much memory each model has, how to put the chip into flashing mode and which uploader to use.
2. Framework
This is the API you use to write the program. On ESP32 there are two main choices: arduino, with setup() and loop(), and espidf, Espressif's official framework, which is more verbose and gives you more control. The same chip, two ways to program it.
3. Tools
Compiler, assembler, uploader and utilities. For ESP32 this includes packages such as tool-esptoolpy — Espressif's official uploader — and tool-cmake. You do not install any of this manually; that is why the first compilation takes a few minutes.
4. Libraries
Declared in lib_deps, downloaded from the PlatformIO registry or directly from a Git repository.
Where all of this is stored
The four layers do not live inside your project. They live in one user folder, .platformio, with platforms, packages and its own Python installation underneath.
This has two practical benefits. First, ten ESP32 projects can share the same compiler, downloaded only once. Second, your project folder stays small and easy to send.
Inside the project, PlatformIO creates the .pio folder, containing temporary build files and the generated binary. This folder is disposable: you can delete it safely and it is recreated on the next build. That is why it never belongs in a ZIP file or Git.
Reading platformio.ini
This is the file that describes the entire project. Here is a minimal ESP32 example:
| 1 | [env:esp32dev] |
| 2 | platform = espressif32 |
| 3 | framework = arduino |
| 4 | board = esp32dev |
| 5 | monitor_speed = 115200 |
Line by line: [env:esp32dev] opens an environment named esp32dev; platform identifies the chip family; framework identifies the API; board identifies the exact board model; monitor_speed fixes the serial monitor speed so you do not have to type it every time.
The board field saves the most work. With board = esp32dev, PlatformIO already knows that this model is a 240 MHz ESP32 with 4 MB of flash and 320 KB of RAM, and builds the matching memory map. It currently recognizes more than 1,100 board models — list them with pio boards.
Multiple environments in one project
A project can declare as many environments as needed. That is how the same code supports different boards:
| 1 | [env:esp32dev] |
| 2 | board = esp32dev |
| 3 | build_flags = -D LED_PIN=2 |
| 4 | ; |
| 5 | [env:esp32-c3-lcd-144] |
| 6 | board = esp32-c3-devkitm-1 |
| 7 | build_flags = -D DISPLAY_ST7735=1 |
build_flags passes definitions to the compiler before the build. In the example, the same main.cpp enables the display section only for the environment of the board that has a display — without duplicating a file or commenting lines by hand.
Pinning library versions
| 1 | lib_deps = |
| 2 | adafruit/Adafruit GFX Library@^1.11.11 |
^1.11.11 means "this version or a compatible patch release, but no breaking change". That is what ensures a project compiled today still compiles six months from now.
The commands that cover 90% of everyday use
| 1 | pio run |
| 2 | pio run -t upload |
| 3 | pio device list |
| 4 | pio device monitor |
| 5 | pio run -t clean |
The first builds. The second builds and uploads. The third lists serial ports. The fourth opens the monitor. The fifth clears the .pio folder when something gets strange — the famous "delete it and build again", with its own command.
In VS Code, the same commands are represented by the bottom toolbar icons: checkmark to build, arrow to upload, plug to open the monitor.
PlatformIO or Arduino IDE?
Neither is better at everything. The choice depends on what you are building.
Arduino IDE wins during the first hour: it installs quickly, has fewer concepts and lets you compile without understanding project structure. For blinking an LED and learning the basics, it is enough.
PlatformIO wins when the project grows or leaves your machine: configuration versioned with the code, multiple boards in one project, pinned library versions, automated tests and integration with build systems. That is why it dominates professional projects and industrial firmware.
One thing often surprises people: the two do not fight. PlatformIO uses the same Arduino Core underneath when you choose framework = arduino. Code written in the Arduino IDE compiles the same way; only the build organizer changes.
Three common misunderstandings
"I need to install the compiler first." No. PlatformIO downloads the compiler during the first build. Installing a toolchain by hand usually creates conflicts instead of solving them.
"I deleted .pio and lost my project." You did not. Your code is in src, and .pio is only the build output.
"PlatformIO is paid." The Core and VS Code extension are free and open source. Optional paid services exist for teams and remote development, but none is required to compile and upload.
Where to start
If you came here to understand PIO before installing it, the next step is to choose one of two practical paths: the first steps through VS Code tutorial, which uses only buttons, or the command-line tutorial with the board that has a display. Both use the same project and the same platformio.ini described here — now with the vocabulary in context.
platformio.ini configuration:
| 1 | [env:esp32dev] |
| 2 | platform = espressif32 |
| 3 | framework = arduino |
| 4 | board = esp32dev |
| 5 | monitor_speed = 115200 |
| 6 | lib_deps = |
| 7 | adafruit/Adafruit GFX Library@^1.11.11 |