First steps with ESP32-C3 and 1.44" LCD
From a blank computer to the first text on a Spotpear ESP32-C3 display: install Python and PlatformIO, save the factory firmware, compile and flash.
Hardware requirements:
- Spotpear ESP32-C3 com LCD de 1,44" (ST7735, 128x128)
- Cabo USB com transmissão de dados
- Windows 10 ou 11 com acesso à internet
Download this tutorial's materials:
- Projeto completo (ZIP)221 KBplatformio.ini, src/main.cpp, scripts de backup e restauração do firmware, README e o manual em PDF.
- Manual em PDF (10 páginas)239 KBPasso a passo ilustrado, tabela de solução de problemas e checklist final.
Want to receive new manuals and industrial schematics? Join our channel on Telegram / WhatsApp
Who this tutorial is for
This material is for anyone who has never flashed an ESP32 board. The goal is to start with a computer that has nothing installed and reach the first text on the display without skipping steps.
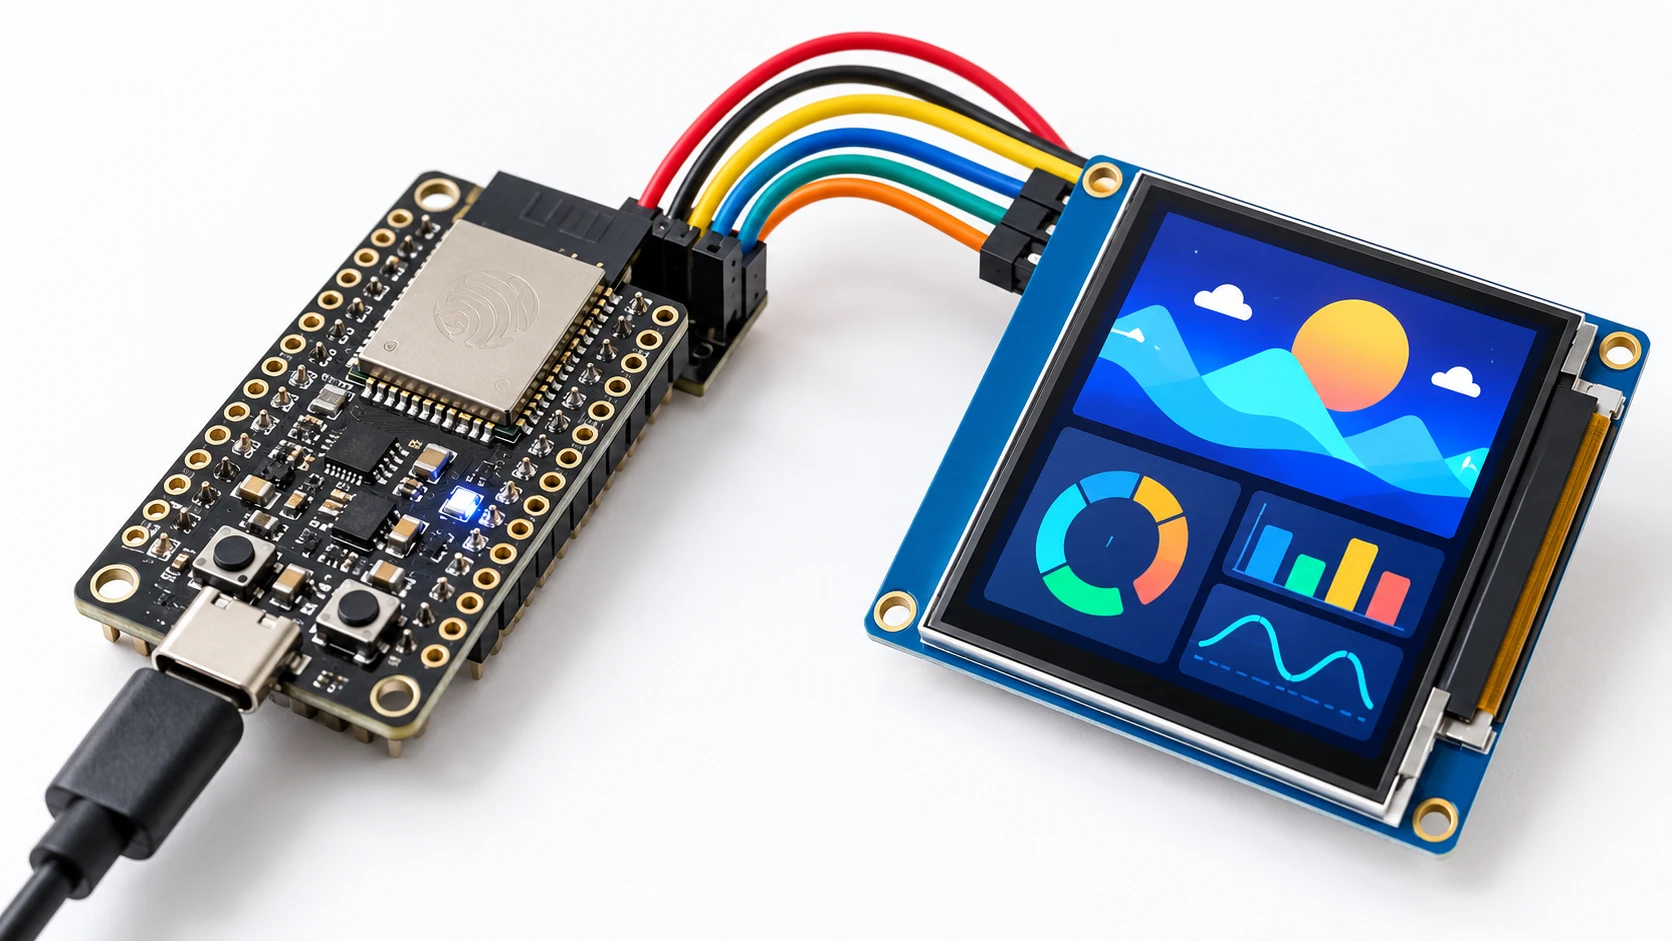
The target board is the Spotpear ESP32-C3 with a 1.44-inch color LCD, 128 x 128 pixels and an ST7735 controller. The complete project is in the download above: extract it and follow the commands.
The first installation takes an estimated 20 to 40 minutes because PlatformIO downloads its tools during the first build.
Before powering on: two precautions
The ESP32-C3 GPIOs operate at 3.3 V. For this first test, do not connect sensors, a battery or external power—use only the USB cable.
Also check the cable: a charge-only cable does not carry data, and it is the most common reason the board simply does not appear on the computer.
How to tell whether your board is this one
Boards that look alike may use different pins, which is why the display can stay white after a successful flash. The internal pinout of this model is MOSI on GPIO 4, SCLK on GPIO 3, CS on GPIO 2, DC on GPIO 0 and LCD RESET on GPIO 5.
If your display remains white, confirm the exact model and pinout with the seller before changing the code.
Install Python and PlatformIO
Install Python 3 from the official website and select Add Python to PATH during installation. Then open PowerShell and verify:
| 1 | python --version |
| 2 | python -m pip install platformio |
| 3 | python -m platformio --version |
The second command installs PlatformIO Core, which compiles and flashes the board. If the terminal says that python is not recognized, reinstall it with Add Python to PATH enabled, or try the py command instead of python.
Save the factory firmware before flashing
This is the step almost every tutorial forgets. The board ships with a demo program, and the first upload permanently erases it. Make a copy before continuing:
| 1 | python -m pip install esptool |
| 2 | .\backup_firmware_original.ps1 -Porta COM3 |
Replace COM3 with the port found during device listing. esptool is installed separately because the copy bundled with PlatformIO is not available through python -m esptool. The script detects the installed version and uses read_flash with esptool 4 or read-flash with version 5 and later.
Keep firmware_original.bin outside the project folder. It is your only way to restore the board's original state.
Build and flash
With the board connected, find its port and then build and flash:
| 1 | python -m platformio device list |
| 2 | python -m platformio run -e esp32-c3-lcd-144 |
| 3 | python -m platformio run -e esp32-c3-lcd-144 -t upload |
Look for a port such as COM3, COM4 or COM5—the number varies from computer to computer. If only COM1 appears, the board was not recognized: change the cable or USB port.
The first build takes a few minutes because PlatformIO downloads the libraries. The expected result is SUCCESS at the end of the output. If PlatformIO does not choose the port automatically, provide --upload-port COM3.
Do not unplug the USB cable while flashing.
If it gets stuck at Connecting
Put the ESP32-C3 into download mode manually: hold BOOT, press and release RESET once, release BOOT and run the upload again. Button names and positions vary by enclosure.
What you should see
After flashing, the board restarts by itself. The screen has a black background and green border. Cyan text shows Ola on the first line and ESP32-C3! on the second—without an accent because the graphics library's default font has no accented characters. Below it, a yellow Tempo: ... s counter advances every second.
If this appears, four things were validated at once: the processor, flash memory, USB communication and display.
The serial monitor
| 1 | python -m platformio device monitor --baud 115200 |
The output starts with two initialization lines, followed by LED ligado and LED desligado repeating every second. This is normal and does not indicate an error: this board has no configured LED, and the messages are inherited from the example, which also runs on a regular ESP32 and ESP32-S3.
Press Ctrl+C to close the monitor before trying to flash again—if the port remains occupied, the upload fails.
After it works
Change only one thing at a time and flash again after each change. Start by changing the screen text, then the colors, then connect to Wi-Fi and display the IP address.
Always keep a copy of the last program that worked. When an experiment fails, you can return to the previous point in seconds instead of starting over.
platformio.ini configuration:
| 1 | [env:esp32-c3-lcd-144] |
| 2 | platform = espressif32 |
| 3 | framework = arduino |
| 4 | board = esp32-c3-devkitm-1 |
| 5 | monitor_speed = 115200 |
| 6 | build_flags = |
| 7 | -D ARDUINO_USB_CDC_ON_BOOT=1 |
| 8 | -D LED_PIN=-1 |
| 9 | -D LED_RGB=0 |
| 10 | -D DISPLAY_ST7735=1 |
| 11 | lib_deps = |
| 12 | adafruit/Adafruit GFX Library@^1.11.11 |
| 13 | adafruit/Adafruit ST7735 and ST7789 Library@^1.10.4 |