
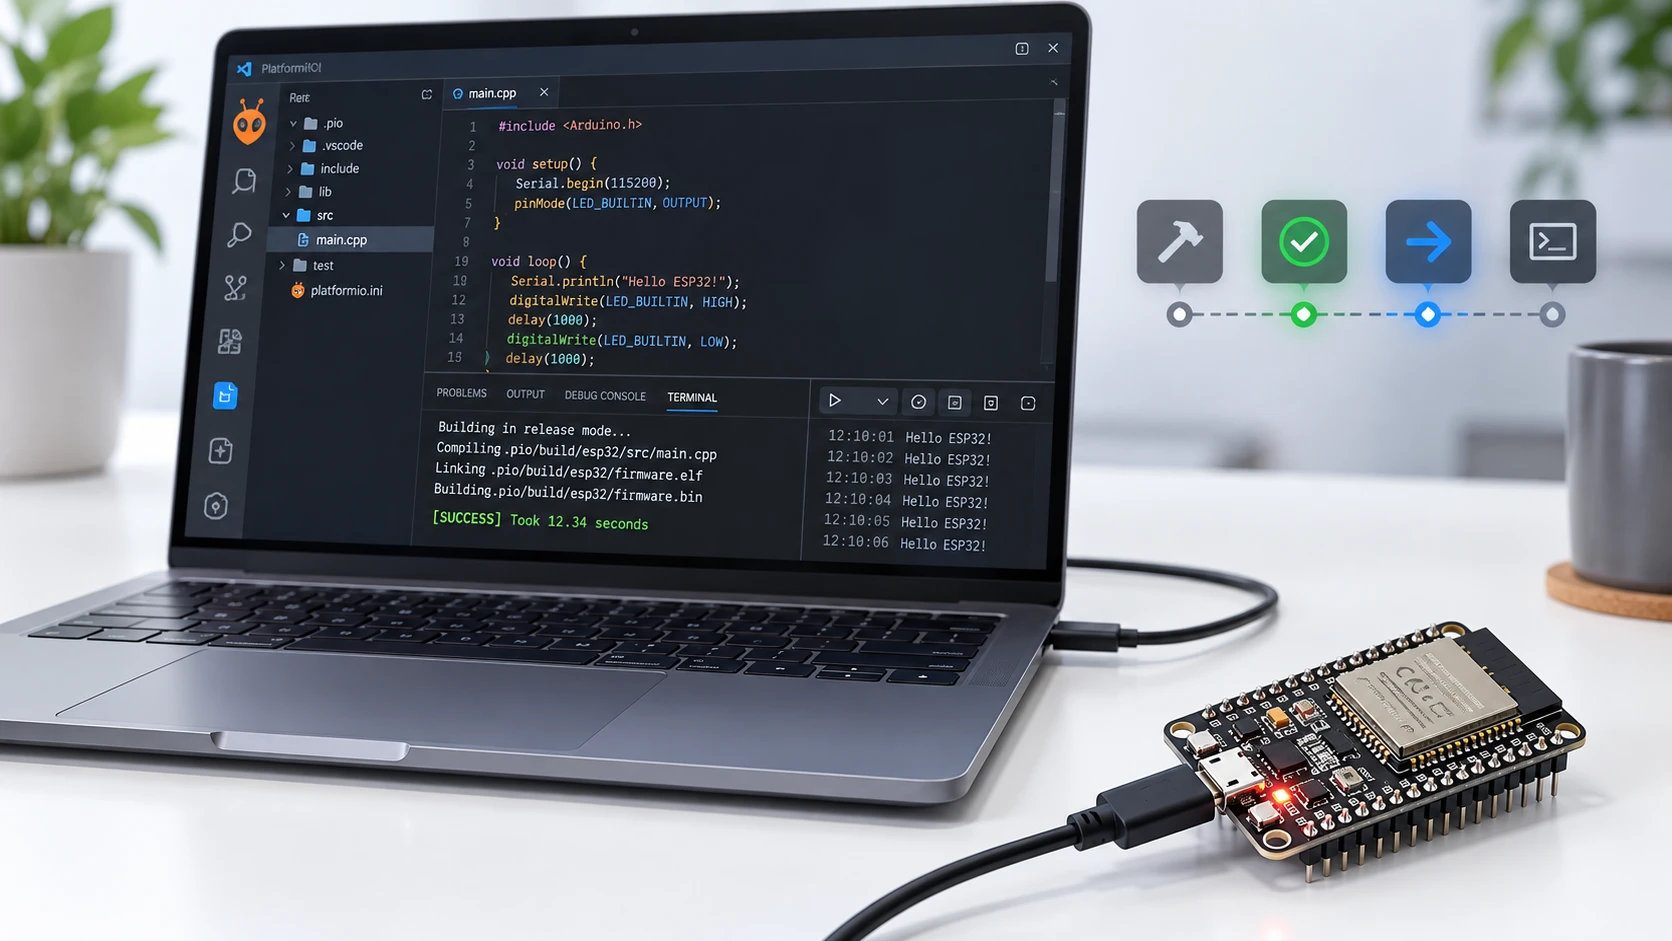
Program the ESP32 in VS Code with PlatformIO
From zero to a blinking LED: install, open the project, compile and flash the board using the interface buttons, without typing a command.
Hardware requirements:
- ESP32 DevKit V1, WROOM-32 ou equivalente
- Cabo USB com transmissão de dados
- Windows 10 ou 11 com cerca de 1,5 GB livres
Download this tutorial's materials:
- Projeto completo (ZIP)224 KBplatformio.ini com os três ambientes, src/main.cpp, README e o manual em PDF.
- Manual em PDF (10 páginas)245 KBPasso a passo pela interface do VS Code, solução de problemas e checklist final.
Want to receive new manuals and industrial schematics? Join our channel on Telegram / WhatsApp
Who this tutorial is for
This is the path for anyone who prefers a graphical interface. Every step happens inside VS Code by clicking buttons — you do not need to type a command in the terminal.
The target board is the classic dual-core ESP32, the one with the silver WROOM-32 module and two rows of pins. The example blinks the blue LED soldered to the board, connected to GPIO 2.
If you prefer the command line, or have the board with a display, use the companion first steps with ESP32-C3 and a 1.44-inch LCD tutorial. Choose one of the two: doing both at the same time only causes confusion.
What to install
There are two installations, in this order. First install Visual Studio Code from the official website, accepting the default options and leaving the option to add it to PATH enabled.
Then, inside VS Code itself, install the PlatformIO IDE extension: click the Extensions icon in the left sidebar, search for PlatformIO IDE and install the extension from PlatformIO Labs. The first installation downloads the PlatformIO Core and takes a few minutes.
It worked when an ant icon appears in the sidebar and a new toolbar appears at the bottom of the window, with home, checkmark and arrow symbols.
Open the project the right way
Extract the project folder somewhere easy to find, such as Documents, and never work from inside the ZIP file. In VS Code, choose File and then Open Folder.
This is where the most common PlatformIO mistake happens: open the folder that contains platformio.ini, not the folder above it. If you open the wrong folder, PlatformIO does not recognize the project and its toolbar simply does not appear — making it easy to think the installation failed.
Choose the board environment
The same project supports three different boards: the regular ESP32, ESP32-S3 and the ESP32-C3 with display. For the classic ESP32, the environment is esp32dev, already included in the configuration file.
At the bottom of VS Code, click the environment name and choose env:esp32dev from the list shown at the top of the window. This is the environment that defines the LED on GPIO 2.
Connect the board
Connect the ESP32 with a data USB cable — a charging-only cable does not carry data and is the most common reason the board does not appear. Then open the ant icon, go to Devices and click Device List.
If you see only COM1, or no port at all, the reason is almost always a driver: your board's USB-to-serial converter is a CP2102 or CH340, and Windows does not always include the driver. Check which chip is printed near the USB connector and install the matching driver.
How to find your board's COM port
COM is the name Windows assigns to a serial port. Every computer numbers them differently, so the same ESP32 can be COM3 on one machine and COM7 on another.
The most reliable route is Device Manager: click the Start menu, type Device Manager, open the result, find Ports (COM & LPT) and expand it. The number in parentheses is your port.
The board does not appear under the name ESP32 — it appears under the name of the USB-to-serial converter soldered to it. It is normal to see something such as Silicon Labs CP210x USB to UART Bridge (COM5) or USB-SERIAL CH340 (COM3). If there is a yellow triangle instead of the device name, the driver is not installed.
There is a foolproof method when several serial devices are connected: open Device Manager with the board disconnected and look at the Ports section. Connect the cable and look again. The port that appeared is yours.
In most cases you do not need this information: PlatformIO detects the port automatically when uploading. Finding the COM port is only necessary when more than one serial device is connected and it chooses the wrong one. In that case, pin the port by adding two lines to the environment in platformio.ini:
| 1 | [env:esp32dev] |
| 2 | board = esp32dev |
| 3 | upload_port = COM5 |
| 4 | monitor_port = COM5 |
One detail confuses many people: COM1 is almost never your board. It is usually a serial port on the motherboard that exists even when nothing is connected. If only COM1 appears, the ESP32 was not detected.
Compile and upload using the buttons
In the bottom toolbar, the checkmark compiles and the right arrow uploads. Click the checkmark first: the first compilation downloads the compiler and libraries, so it takes a few minutes. The expected result is SUCCESS in green in the terminal.
If FAILED appears, scroll the terminal up to the first red line. That line explains the cause — the last line almost never does.
Then click the arrow to upload. Do not unplug the cable during the upload. If it stays on Connecting, hold the board's BOOT button until uploading starts; on some boards you must press EN once while holding BOOT and then release BOOT.
What you should see
After uploading, the board restarts by itself and the blue LED starts blinking: one second on, one second off. If the LED is blinking, three things have been validated at once — the processor, flash memory and USB communication.
To see what the program is reporting, click the plug icon in the bottom toolbar. It opens the serial monitor at the correct speed. The output is:
| 1 | Ola! O ESP32 iniciou corretamente. |
| 2 | LED configurado no GPIO 2. |
| 3 | LED ligado |
| 4 | LED desligado |
The last two lines repeat every second, in step with the blinking LED. That is the expected behavior.
Before uploading again
Close the serial monitor using the trash icon in the terminal. With the monitor open, the port is busy and the next upload fails with a permission error. This is the second most common beginner mistake.
After it works
Change only one thing at a time and upload again after each change. Start by changing the blink interval from one second to 200 milliseconds, then write your own sentence to the serial monitor, and then connect an external LED with a resistor to another GPIO.
Always keep a copy of the last program that worked. When an experiment fails, you can return to the previous point in seconds instead of starting over.
platformio.ini configuration:
| 1 | [env:esp32dev] |
| 2 | platform = espressif32 |
| 3 | framework = arduino |
| 4 | board = esp32dev |
| 5 | monitor_speed = 115200 |
| 6 | build_flags = |
| 7 | -D LED_PIN=2 |
| 8 | -D LED_RGB=0 |
| 9 | -D DISPLAY_ST7735=0 |